

Vermicomposting
What is vermicomposting?
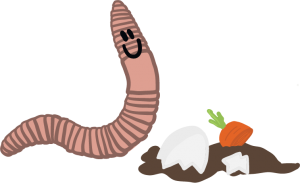
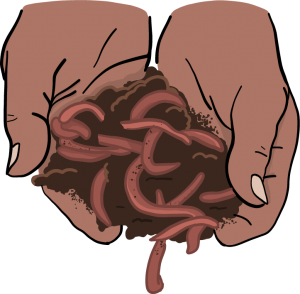
Vermicomposting means composting with worms! Verme is Latin for worm. Composting is the action of taking a mixture of the decayed matter of once living things or their products and using them for fertilizing soils. Worms work with bacteria (and other organisms) throughout the breakdown process to expel nutrient-rich fertilizer,, which is otherwise known as ‘Vermicast’, ‘worm castings’ or ‘vermicompost’. Worm composting helps you and your class take responsibility for your lunch scraps, while at the same time making compost for your classroom garden.
There are many types of earthworms that are used in vermicomposting systems, and thousands of types of earthworms in the world. The type of earthworm that the Little Green Thumbs Program utilizes is called the Red Wiggler, also a popular worm in fishing bait shops.
Worms have three jobs: eat, poop, and make babies. Your job is to manage their habitat and food to maximize all three. These are the basic steps in your vermicomposting journey:
- Set up your worm bin. Your first job will be to create your worm’s habitat (worm bin) using newspaper bedding and your Rubbermaid container. This is where your worms will live.
- Feed the worms and maintain their habitat. Once a week or so you will feed your worms by burying the food scraps under their bedding. All week you can collect food scraps in a yoghurt container, and then add to your bin all at once.
- Learn and observe! Have students observe worms regularly. Can you track your food waste or set up experiments to see how fast decomposition happens with worm and without? Search through your worm bin for other decomposers. Guess which foods worms like best and test. The learning possibilities are vast. Check the Online teachers portal for more inspiration.
- Harvest the vermicompost. Once a year you will want to harvest the bin for its nutrient-rich compost.
Please choose your video:
How Worms Can Reduce Our Waste - Ted-Ed
The Compost Story by Kiss the Ground
Section 4 Vermicomposting from the Teacher’s Manual.
View or download the full Vermicomposting section.
Related Resources

Worm Bins
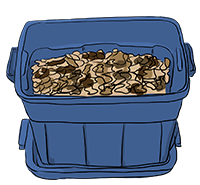 A worm habitat is also referred to as a ‘worm bin’ or a vermi-composting bin. A worm bin serves to contain the entire vermicomposting operation (bedding, worms and food). Your worm bin should be made of dark material (no light!), have a lid, and provide good ventilation while also maintaining moisture. Eventually your vermicompost system will become its own mini-ecosystem with micro and macro-organisms, helping the worms turn your waste into nutrient rich compost!
The most basic worm composting system is a simply a plastic tote with a snap-on lid and a few holes drilled in the sides for ventilation. Some schools may also use the Worm Factory 360, a ready-made system for housing your worms. If you are using the Worm Factory 360 or another pre-made worm bin, please follow the assembly instructions provided to you with your kit.
What do you need to make worm compost at school or home?
- Worms
- Habitat (worm bin)
- Bedding
- Food
- Moisture
- Air and the right temperature
The basic steps for preparing your worm bin will be:
- Step 1: Prepare your plastic container (the bin) with air ventilation holes.
- Step 2: Shred the newspaper into thin strips.
- Step 3: Moisten bedding.
- Step 4: Add soil and blend with newspaper.
- Step 5: Add worms.
- Step 6: Add worm food.
Please see the full instructions for constructing your worm bin to the right.
Worm Bin Set-up Instructions
1-page overview for your worm bin set-up.
Related Resources
Feeding Your Worms
You will want to feed your worms each week.
Start with one litre to at the beginning. You can collect your food scraps into a yoghurt container all week and feed all at once. You will want to feed your worms in different areas of your bin each time. You can add your food scraps directly to your bin, but preparing or pre-treating food scraps will make food easier to digest by your worms. Please see directions to the right about how to best to feed your worms.
What to feed worms:
- Vermicompost worm
- Fruit and vegetable waste (avoiding too much citrus)
- Egg shells
- Coffee grounds and tea leaves
What NOT to feed worms:
- Greasy foods, and dairy products. These foods would deposit fats into the soil which would then cause the worms to suffocate, since they breathe through their skin. These types of foods can also cause your vermi-bin to stink! Yuck! Examples of these fatty foods include: cheese, pizza, ground beef, pepperoni, ice cream, butter, etc.
- Grass, vegetable, or other products sprayed with pesticides. This may cause poisoning of the worms and soil.
- Spicy foods such as onions, garlic, and salt.
- Citrus Fruits in large quantities. The citrus peels can be too acidic for the worm environment and the odor could attract unwanted pests.
- Bread, pasta and wheat products should be kept to a minimum.
Feeding Your Worms
A 2-page overview of how and what to feed your worms!
Related Resources
Maintenance
Your worm bin is a living ecosystem. It is important that ideal conditions are maintained in the bin for it to operate efficiently. If you are experiencing any issues, please see the Troubleshooting section of the portal here.
To keep your worms happy, your worms will need what all living organisms require to survive:
-
Food. Worms can eat half their body weight in a day, so ensure they are fed regularly! Make sure to bury all food that is put in the bin. This prevents odours and fruit flies from making the vermicompost bin their home.
- Water. Your worms will require some moisture in its bin. Try to keep your bedding consistently moist. There should not be standing pools of water in the bin.
- Oxygen. Worms should have airflow into the bin. Ensure that your worm bin has holes to allow airflow and that bedding has not hardened, preventing airflow into the bin.
- Space. Ensure that worms are not crowded in their bin and that there is ample bedding with space between it. If needed, harvest some of your worms for a second bin or find a friend to give them to.
- Proper Temperatures. Red wigglers generally like the same temperatures as us. Worms will survive at temperatures between 6 degrees Celsius and 30 degrees Celsius but will thrive at temperatures between 15 – 26 degrees Celsius.
When the bin is operating correctly, you should notice the following:
- Very little smell or an earthy smell
- Large numbers of worms including juvenile worms in the top layer
- No fruit flies
- Bin has small quantities of other critters, such as mites or little white worms
- Worms have glistening skin
- Worm castings are accumulating
- Fuzzy mold on some foods
- Sufficient air space between bedding
- Bedding is disappearing over time
- The bin should be moist, but there should be no excess liquid in the bottom of the bin
- Signs that your bin is not operating correctly:
- Bin is smelling sour
- Worms look dry
- Bedding and castings are dry
- Water is accumulating inside the bin
- Materials is becoming a soggy clump
- Fruit flies present
- A particular bug seems to be taking over (fruit flies, mites, ants, etc)
To check the moisture level, take a bit of material from the bin and squeeze it in your hand. If one or two drops of water come out, then it is just moist enough (for most worm types). If more comes out, your bin is probably too wet. Your bedding should be moist like a rung-out sponge. If your bedding is too dry, add water. If the bedding is too wet, add more bedding.
Bugs in Your Bin
As your new bin becomes established, the number and diversity of organisms living inside will increase.
They’re not officially invited guests but don’t be alarmed! Most of the tiny creatures at work in your bin – those you can see and cannot see – are integral to the composting food web. As long as one bug doesn’t seem to greatly outnumber others, these bugs pose no problem and are actually aiding worms in breaking down foods.
The organisms and microorganisms that live inside your worm bin will not attempt to escape, and why should they? They have everything they need inside your worm bin. They need the dampness of the bin and a steady food source. They will not venture out into the sterile and dry territory of your school.
However, there are a few bugs that you do NOT want to see in your compost bin. These include fruit flies, centipedes, fungus gnats or earthworm mites. Although very rare, you want to remove these bugs from your bin. Please the PDF to the side to see the good bugs and the bad bugs!

Digging Deeper:
Try a student scavenger hunt of the bugs in your bin! Distribute a page of pictures and have students search through the bin. How many can they find? You could even structure your cards like a bingo board – the first to get a line or 4 corners wins!
Bugs in Your Bin Overview
Pictures and descriptions of different bugs in your worm bin ecosystem.

Related Resources
Harvesting Vermicompost
Vermicompost consists of dark, crumbly and moist nutrients which are expelled by worms and used to add to soil.
Vermicompost is beneficial for the soil in two primary ways:
- It enhances soil fertility through its high concentration of readily-available nutrients and natural plant hormones that boost plant productivity.
- It enhances soil as added organic matter. Vermicompost improves the physical structure of soil, increasing its water holding capacity, resilience to erosion and overall providing an enriched rooting environment.
Your worms have been busy working all year and now is the time to reap your reward!
After three to six months, there may be little or no original bedding visible in the bin. The contents will be brown and earthy-looking. It is time to remove some of the finished compost! There are a few methods of compost harvesting you can try:
- The No-Mess Method
- The Dump and Sort
- The Colander Method
Please find the directions for each harvesting method to the right and ideas for using your vermicompost.
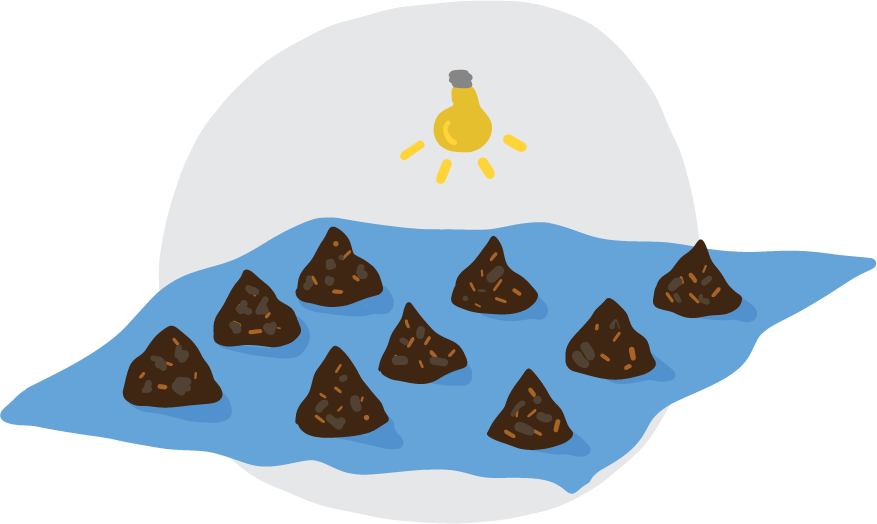
Example of the Dump and Sort method,
outlined in your teacher manual.